When planning for your engagement session you will want to consider outfits along with hair and makeup. The first question that I am asked as soon as the engagement session is scheduled is “what should we wear?” With that being said, I decided to write a guide that will enable couples to make smart decisions that will create the most flattering images.
Multiple outfits:
Depending on your personalities and the amount of variety you would like to present in your images, you and your fiancé will want to consider bringing multiple outfits. Remember, this is an investment in yourself so if you’re looking for a reason to go shopping for some new fits… well, here is your excuse! Keep in mind these images will most likely end up as artwork in your home, as save the dates, and/or engagement albums — so take pride and enjoyment in your outfit selection.
Textures:
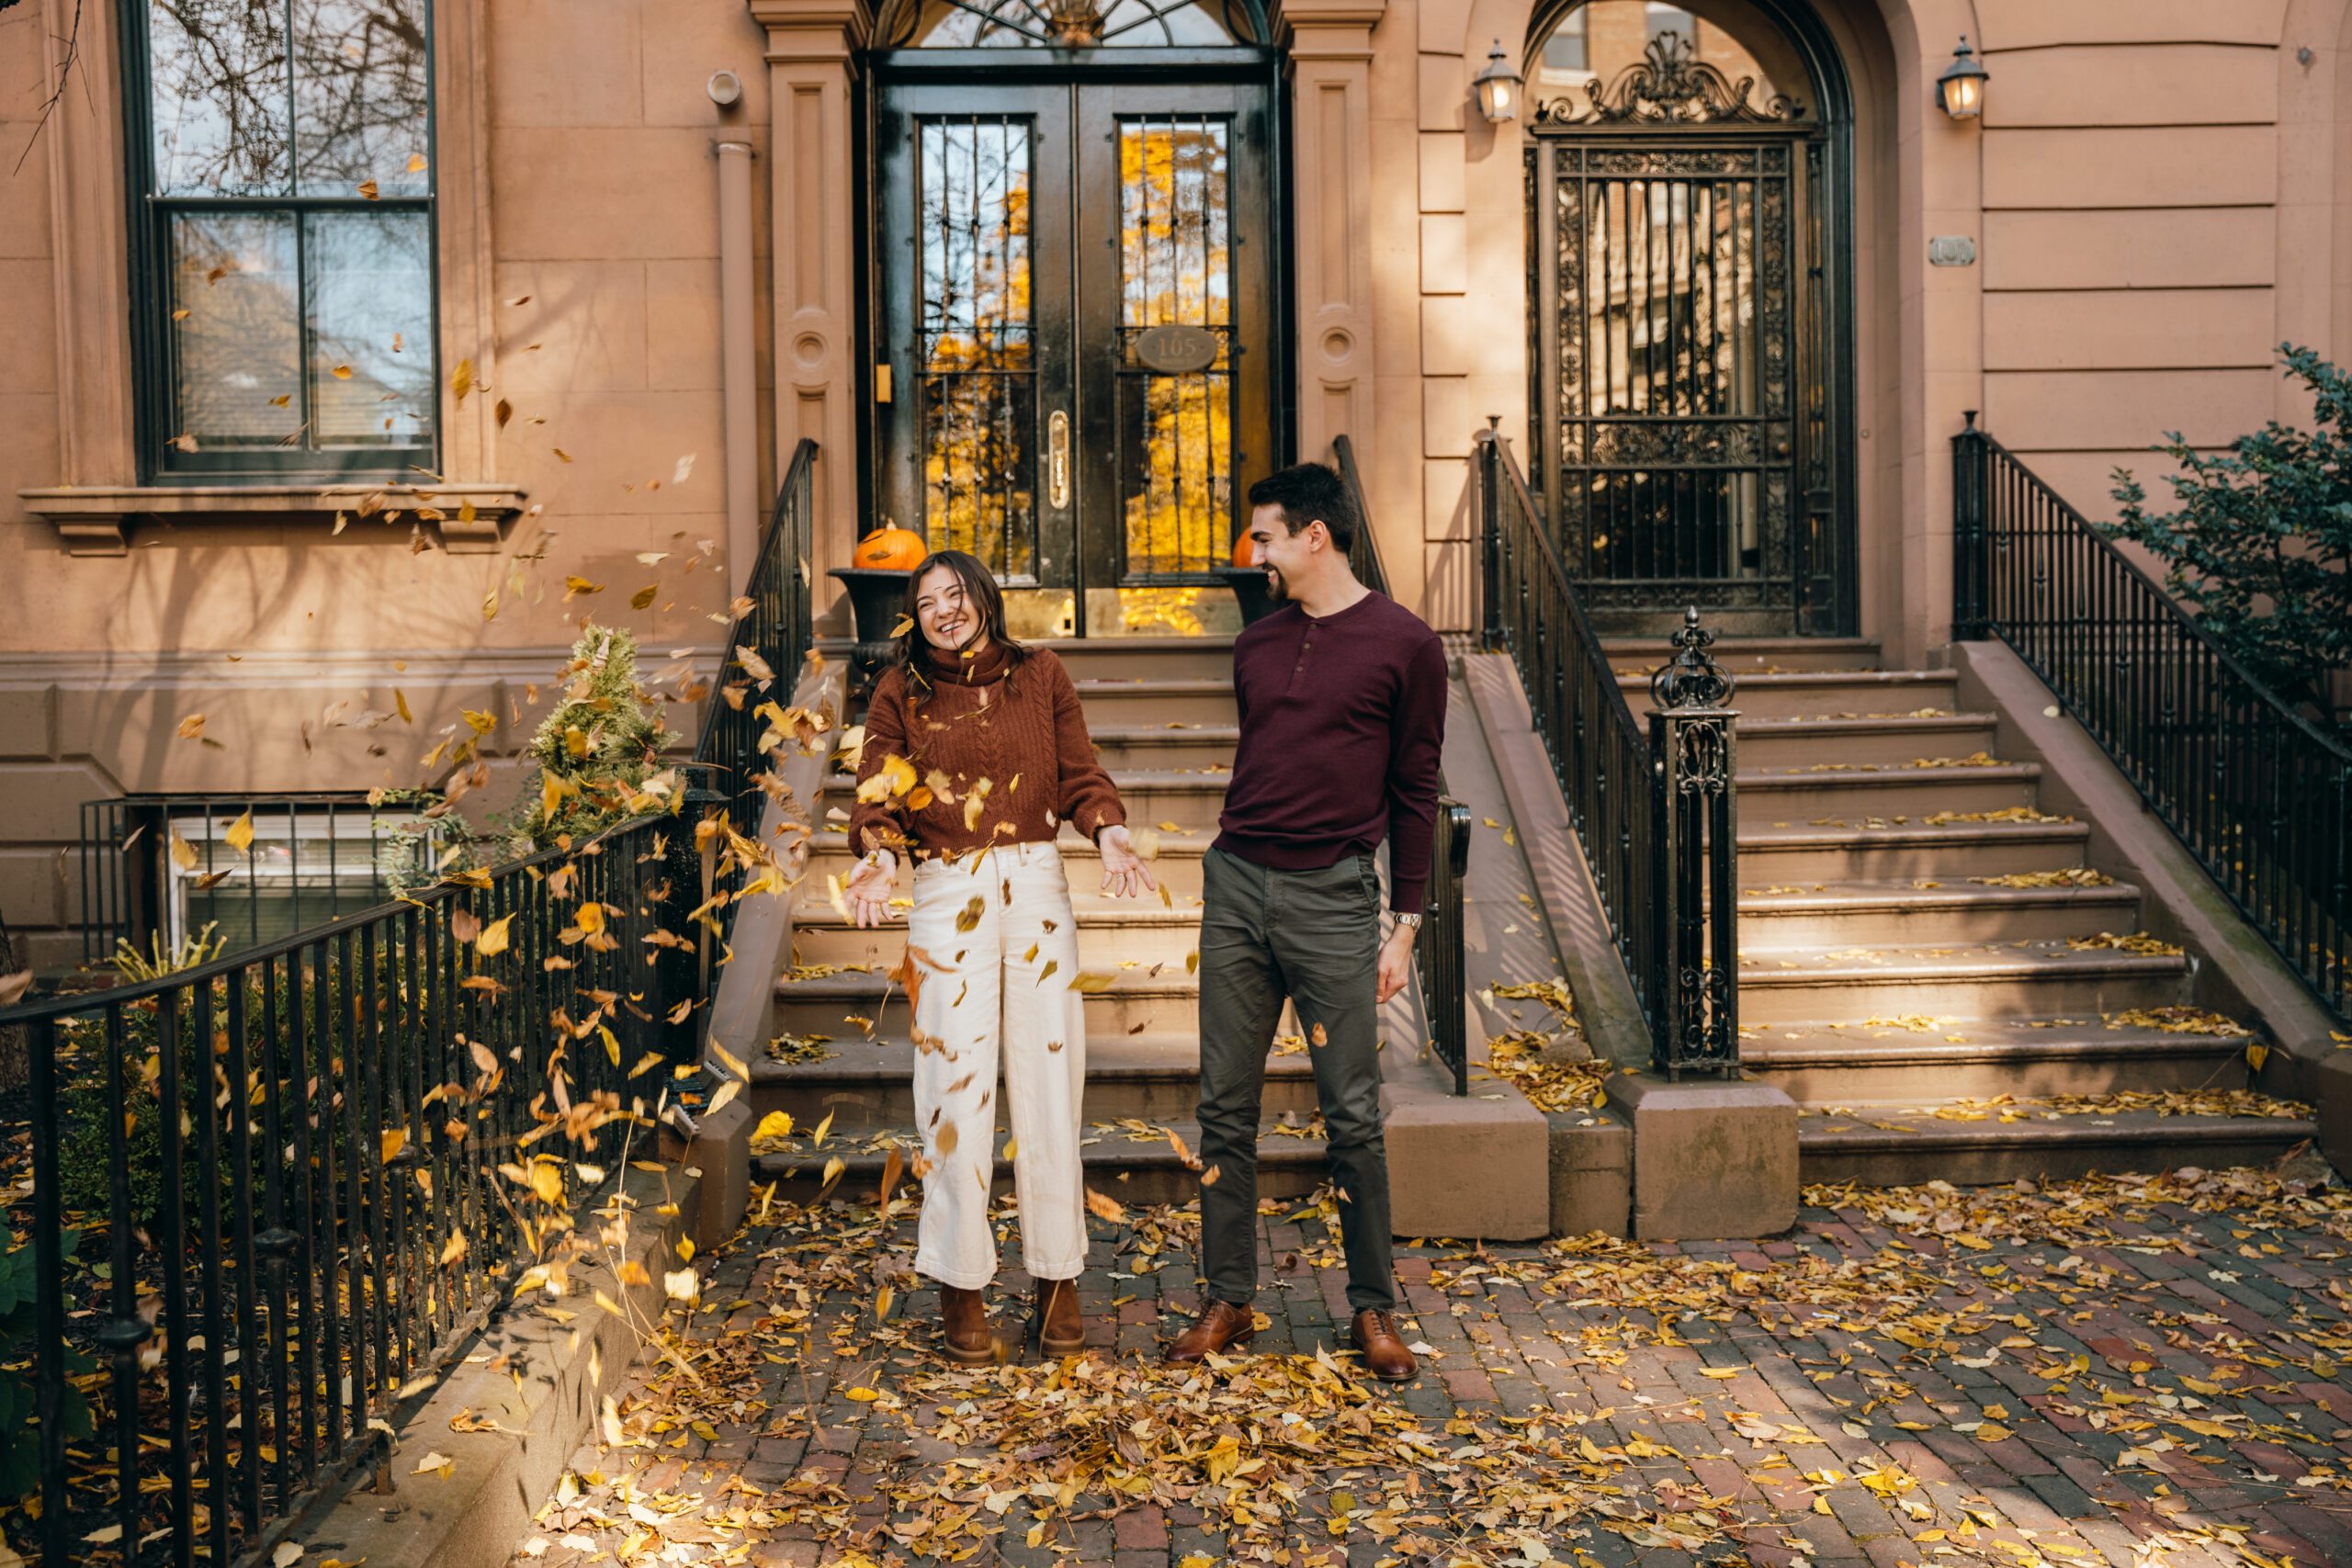
The camera loves textures and will photograph them very well. Items like a woven sweater or rough denim will really pull your images together and make them pop. Don’t underestimate this one and be sure to add it to your quiver of outfit ideas.
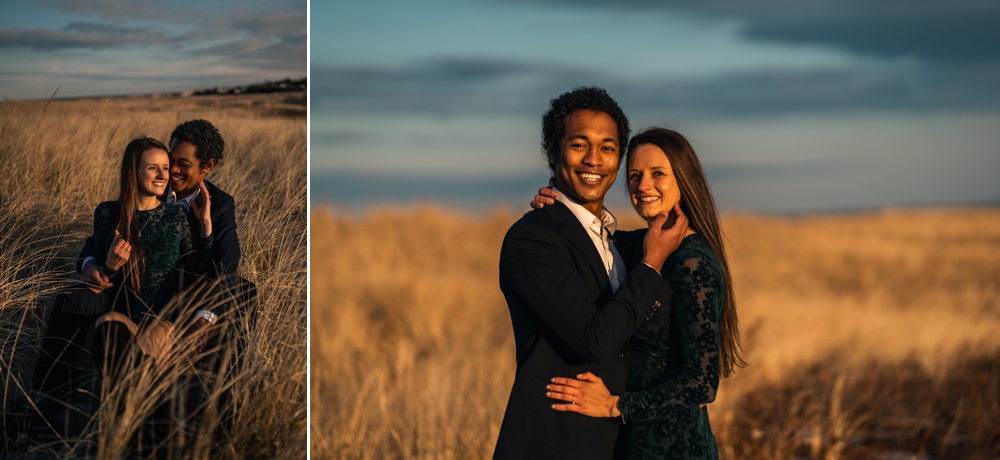
Color coordination:
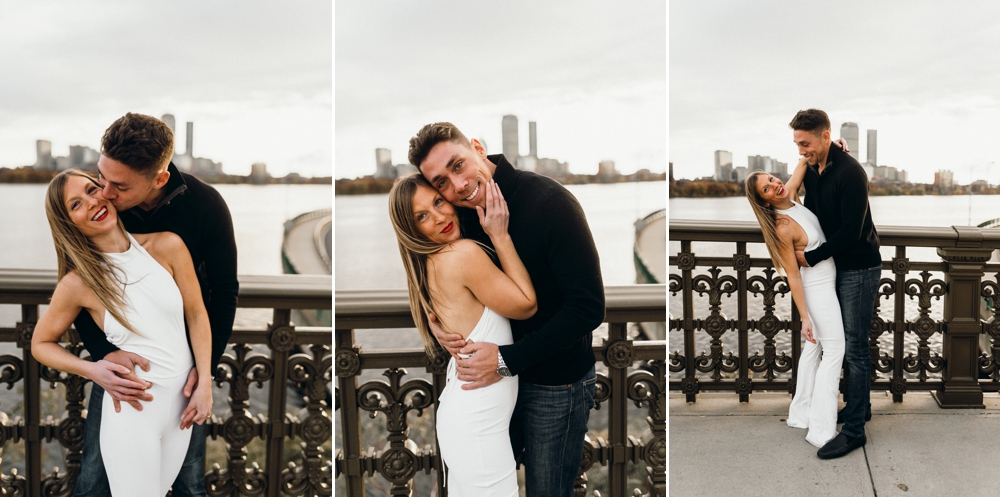
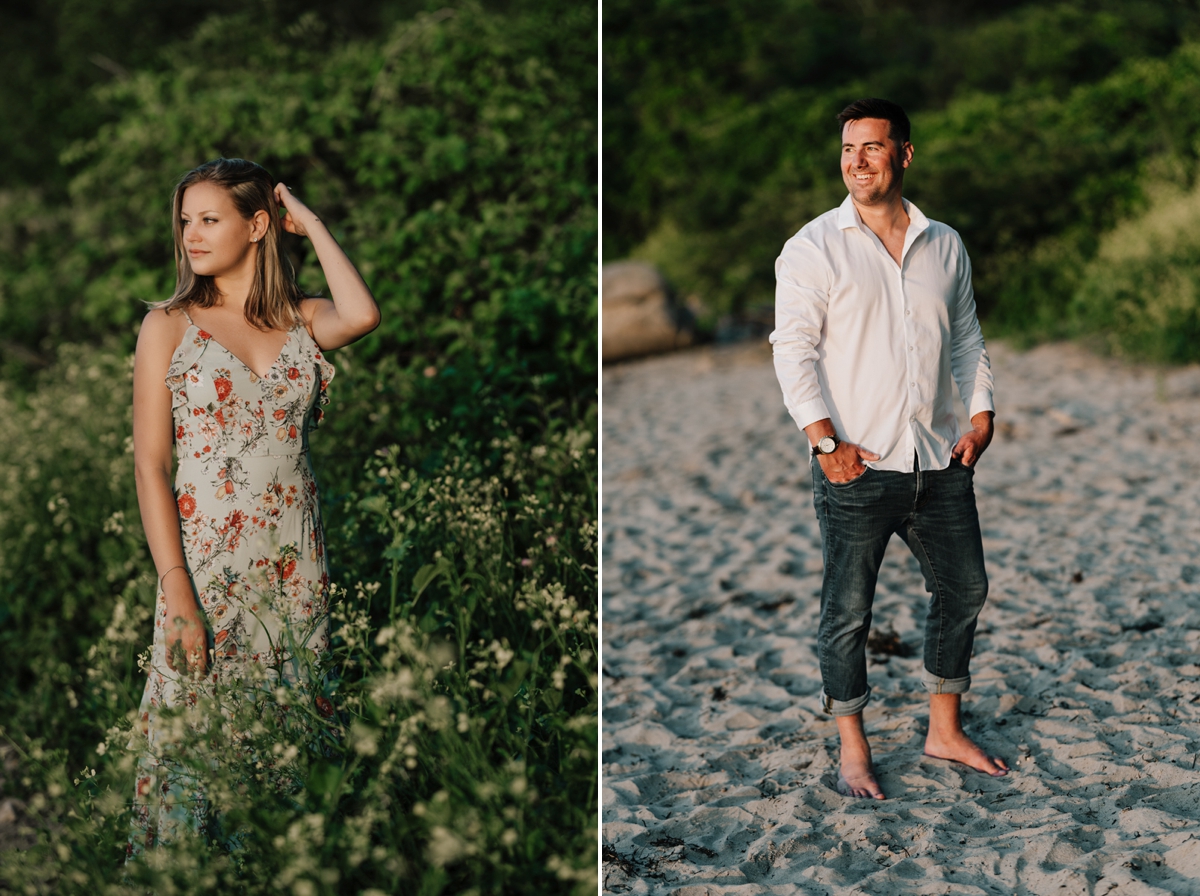
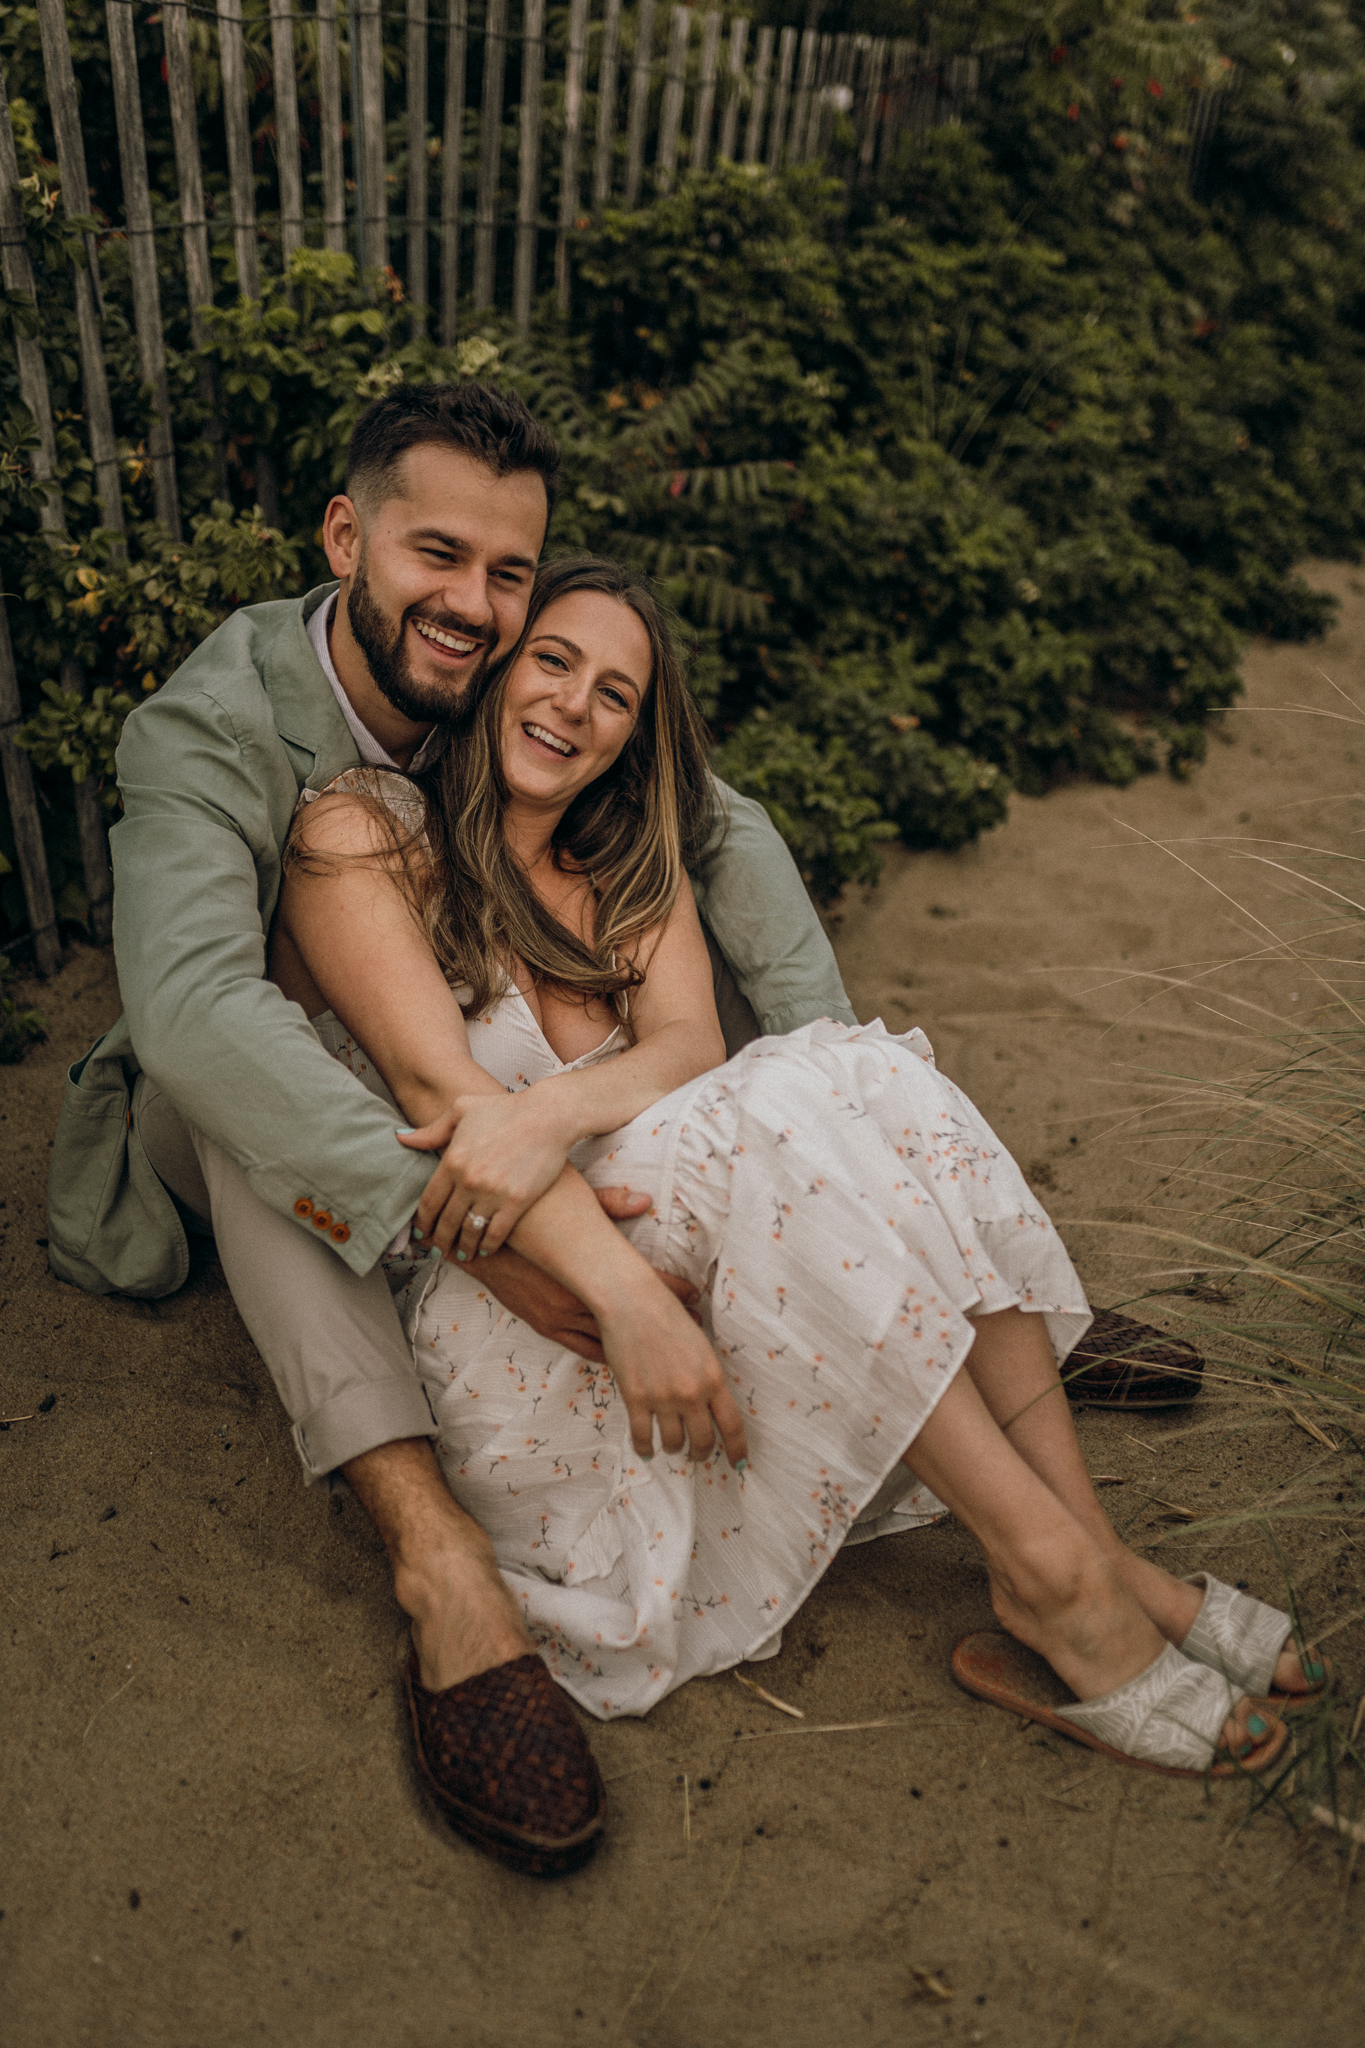
Check out the examples below. You will notice that the couples coordinate but do not match. Choose colors that mesh together well but are not exactly the same. Neutral tones/whites are aways recommended and vibrant colors like green, blue, and red should be avoided.
Don’t be afraid to go “too” dressy:
Do what makes you look and feel your very best! Bring a suit, one of your favorite cocktail dresses, or those shoes that have been sitting in your closet waiting to be worn.

Shoes:
This is important. Ladies will want to wear heels, booties or boots. Guys will want to consider nice dress shoes, boots, or even a basic pair of sneakers like Vans. Just look at any of the images in this guide to see how a nice pair of shoes pulls the entire outfit together.
Details:
Accessories can really make an image pop so don’t forget about these when putting together your outfits. Hats, jackets, jewelry, bouquet of flowers — all great ways to make your images stand out.
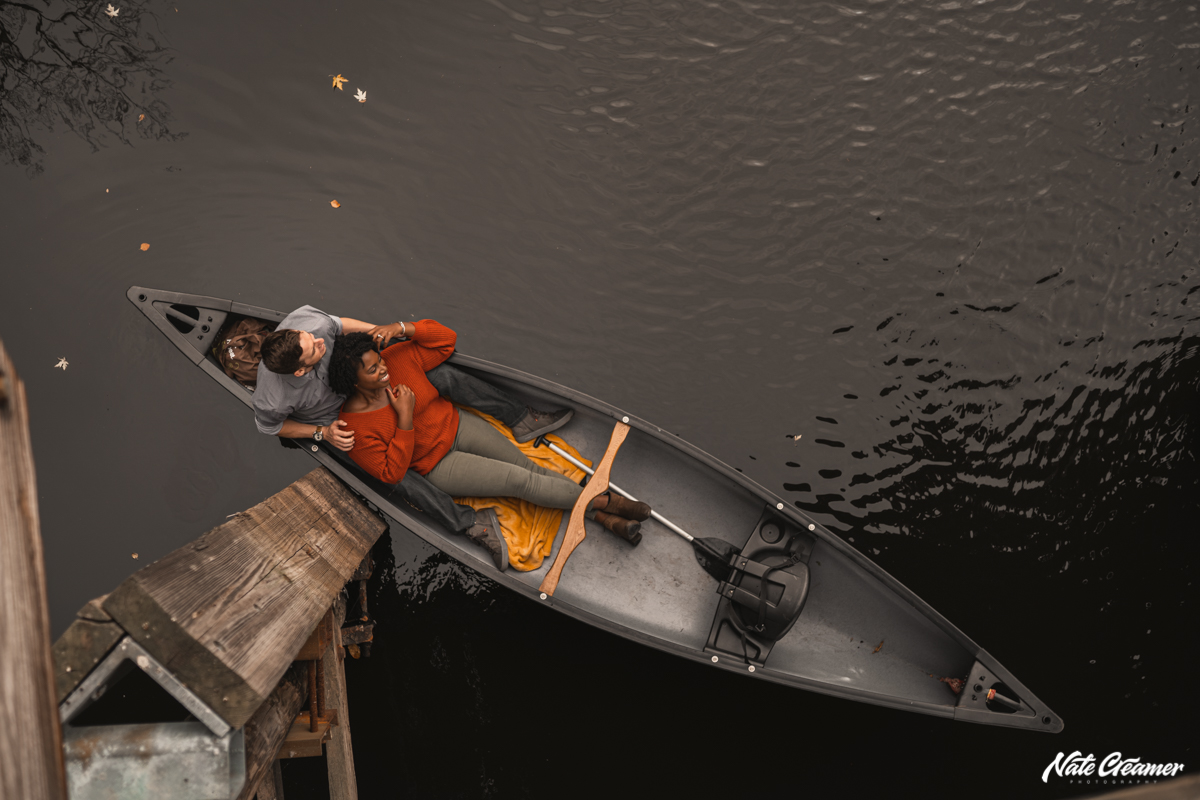
Fun Props:
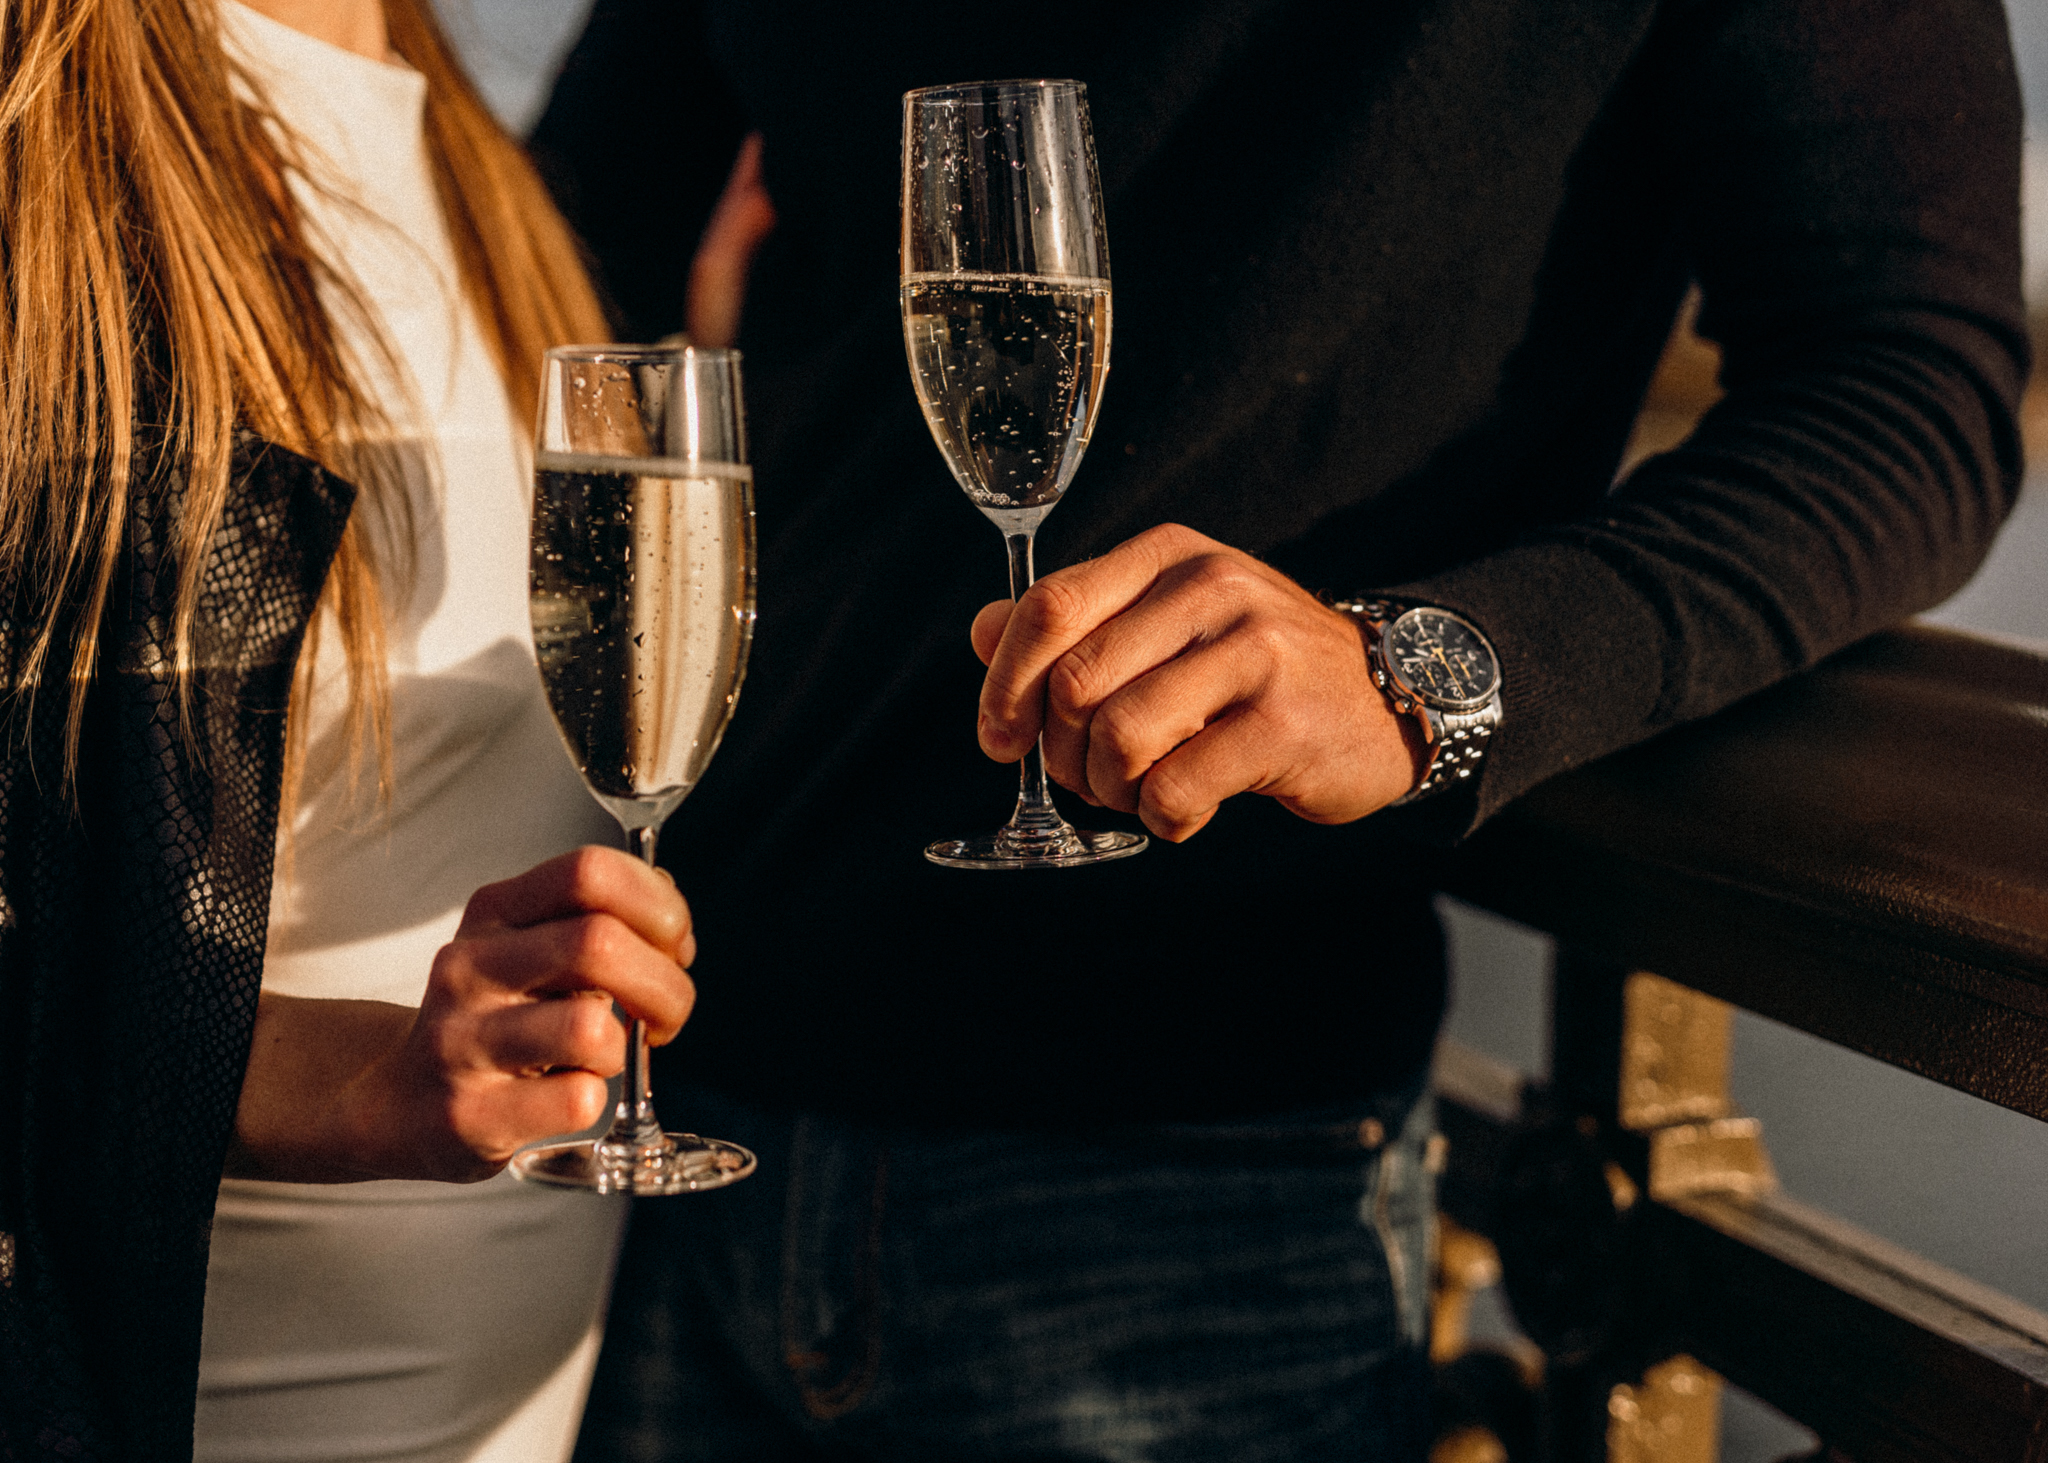
i always recommend bringing a couple bottles of champagne to spray at the end or even some confetti poppers. Get creative and have fun, there’s no rules.
Overview of Do’s:
– Neutrals tones
– Textures
– Layers
– Dress up or down
![]()
Other helpful tips:
– Be on time for your session. I CANNOT stress this enough.
– Bring a blanket or winter coat. If it’s cold, a blanket or coat that photograph well would be the perfect add on for a session.
– Be confident and be yourself — this will shine through your images.

comments +